Node with Window:适用于 Deno 和 Bun 的 Electron 替代品
发布于: 3/21/2026 | 作者: DevScholar
Node with Window:适用于 Deno 和 Bun 的 Electron 替代品
Electron 是目前最流行的跨平台桌面应用框架,但它有一个明显的限制:只能与 Node.js 绑定。如果你想在 Deno 或 Bun 上开发桌面应用,Electron 就无法使用了。Node with Window 是一个新的框架,它提供了与 Electron 兼容的 API,同时支持 Node.js、Deno 和 Bun 三种 JavaScript 运行时。
Node with Window 的设计理念是利用系统已有的运行时而非捆绑自己的。在 Windows 上,它使用 WPF 和 WebView2,依赖系统预装的 .NET Framework 和 Edge WebView2 运行时。在 Linux 上,它使用 GTK4 和 WebKitGTK,依赖系统预装的 GJS 和 WebKit 运行时。这样做的好处是应用安装包体积可以控制在几 MB 以内,远小于 Electron 动辄上百 MB 的体积。
API 设计上,Node with Window 尽量保持与 Electron 一致。主进程使用 app、BrowserWindow、ipcMain 等熟悉的模块,渲染进程使用 ipcRenderer 与主进程通信。如果你有 Electron 开发经验,迁移成本很低。下面是一个简单的记事本应用示例,展示了基本的窗口创建、菜单设置和 IPC 通信。
import { app, BrowserWindow, ipcMain } from '@devscholar/node-with-window';
import * as path from 'node:path';
import * as url from 'node:url';

const __dirname = url.fileURLToPath(new URL('.', import.meta.url));

async function main() {
    await app.whenReady();

    const win = new BrowserWindow({
        title: 'Notepad',
        width: 800,
        height: 600,
        minWidth: 400,
        minHeight: 300,
        resizable: true,
        webPreferences: {
            nodeIntegration: true,
            contextIsolation: false
        }
    });

    ipcMain.handle('show-open-dialog', (_event, options) => {
        const result = win.showOpenDialog(options);
        return result && result.length > 0 ? result[0] : undefined;
    });

    ipcMain.handle('show-save-dialog', (_event, options) => {
        return win.showSaveDialog(options);
    });

    win.loadFile(path.join(__dirname, 'notepad.html'));

    win.setMenu([
        {
            label: 'File',
            submenu: [
                { label: 'New',       accelerator: 'CmdOrCtrl+N', click: () => win.webContents.send('menu-new') },
                { label: 'Open...',   accelerator: 'CmdOrCtrl+O', click: () => win.webContents.send('menu-open') },
                { label: 'Save',      accelerator: 'CmdOrCtrl+S', click: () => win.webContents.send('menu-save') },
                { label: 'Save As...', accelerator: 'CmdOrCtrl+Shift+S', click: () => win.webContents.send('menu-save-as') },
                { type: 'separator' },
                { label: 'Exit',      accelerator: 'Alt+F4', click: () => win.close() }
            ]
        },
        {
            label: 'Edit',
            submenu: [
                { label: 'Undo',       accelerator: 'CmdOrCtrl+Z', click: () => win.webContents.send('menu-edit', 'undo') },
                { label: 'Redo',       accelerator: 'CmdOrCtrl+Y', click: () => win.webContents.send('menu-edit', 'redo') },
                { type: 'separator' },
                { label: 'Cut',        accelerator: 'CmdOrCtrl+X', click: () => win.webContents.send('menu-edit', 'cut') },
                { label: 'Copy',       accelerator: 'CmdOrCtrl+C', click: () => win.webContents.send('menu-edit', 'copy') },
                { label: 'Paste',      accelerator: 'CmdOrCtrl+V', click: () => win.webContents.send('menu-edit', 'paste') },
                { label: 'Select All', accelerator: 'CmdOrCtrl+A', click: () => win.webContents.send('menu-edit', 'selectAll') }
            ]
        }
    ]);
}

main().catch(console.error);
创建窗口使用 BrowserWindow 类,配置项与 Electron 基本一致。webPreferences 可以设置 nodeIntegration 和 contextIsolation,控制渲染进程的权限。showOpenDialog 和 showSaveDialog 方法用于显示系统原生文件对话框,返回用户选择的文件路径。setMenu 方法设置窗口菜单,支持快捷键绑定,菜单项点击时通过 webContents.send 向渲染进程发送消息。
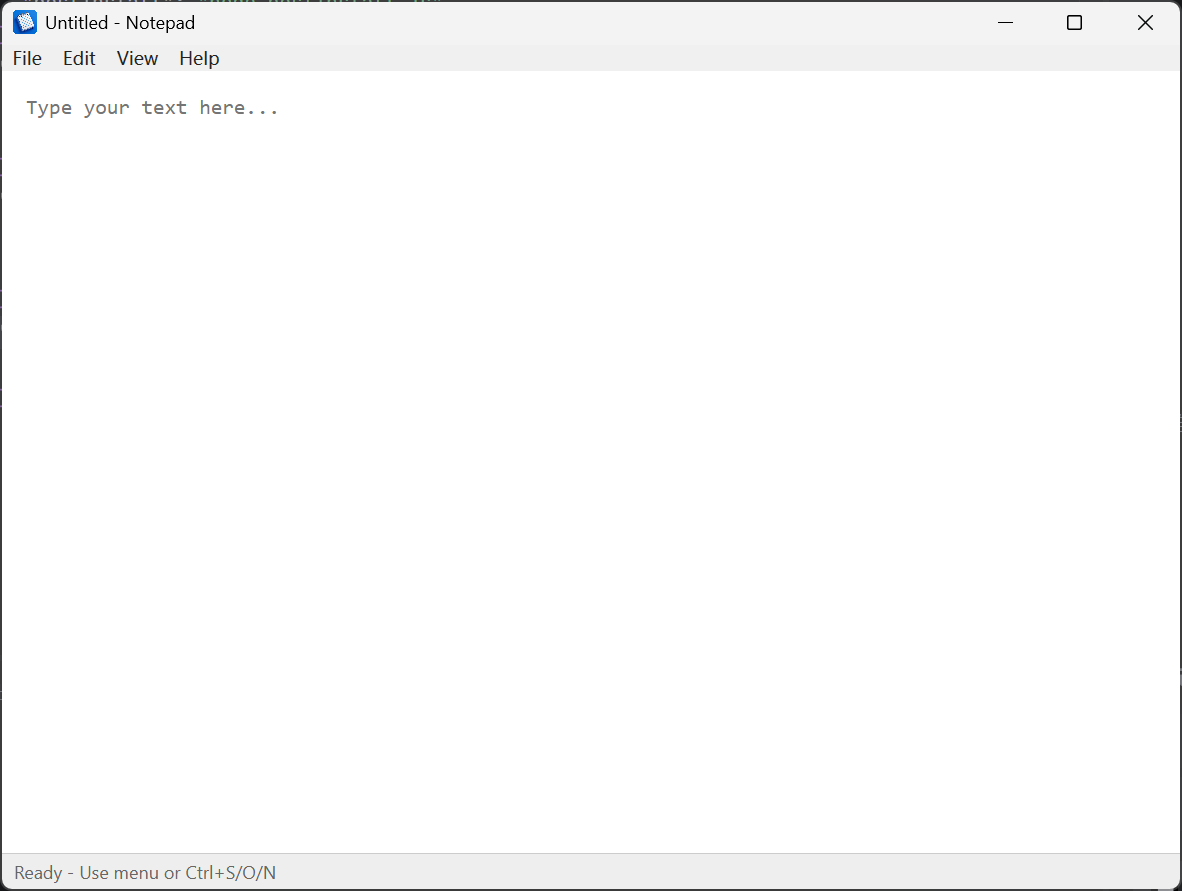
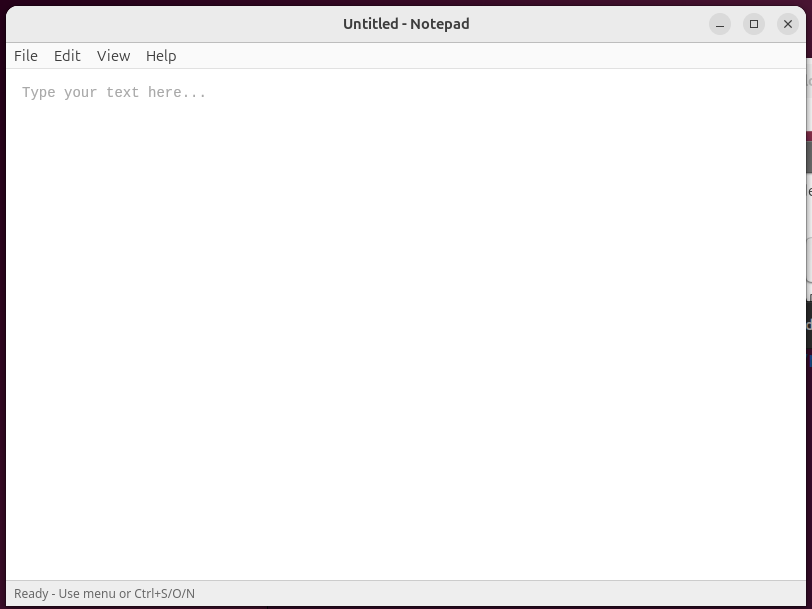
渲染进程的代码就是普通的 HTML 和 JavaScript。如果启用了 nodeIntegration,渲染进程可以直接使用 Node.js 的 fs 模块读写文件。下面是记事本应用的 HTML 部分,展示了如何处理菜单事件和文件操作。
<!DOCTYPE html>
<html>
<head>
    <meta charset="UTF-8">
    <title>Notepad</title>
    <style>
        * { margin: 0; padding: 0; box-sizing: border-box; }
        body { display: flex; flex-direction: column; height: 100vh; }
        #editor {
            flex: 1;
            padding: 16px;
            font-family: Consolas, Monaco, monospace;
            font-size: 14px;
            border: none;
            resize: none;
            outline: none;
        }
        #status {
            background: #eee;
            padding: 4px 8px;
            font-size: 12px;
            border-top: 1px solid #ccc;
        }
    </style>
</head>
<body>
    <textarea id="editor" placeholder="Type your text here..."></textarea>
    <div id="status">Ready</div>

    <script type="module">
        const editor = document.getElementById('editor');
        const status = document.getElementById('status');
        let currentFile = null;
        let isModified = false;

        async function openFile() {
            const filePath = await window.ipcRenderer.invoke('show-open-dialog', {
                title: 'Open File',
                filters: [
                    { name: 'Text Files', extensions: ['txt', 'md', 'json', 'js'] },
                    { name: 'All Files', extensions: ['*'] }
                ],
                properties: ['openFile']
            });
            if (filePath) {
                const content = window.require('fs').readFileSync(filePath, 'utf-8');
                editor.value = content;
                currentFile = filePath;
                isModified = false;
                status.textContent = `Opened: ${filePath}`;
            }
        }

        async function saveFile() {
            if (!currentFile) {
                currentFile = await window.ipcRenderer.invoke('show-save-dialog', {
                    title: 'Save File As',
                    filters: [{ name: 'Text Files', extensions: ['txt'] }]
                });
            }
            if (currentFile) {
                window.require('fs').writeFileSync(currentFile, editor.value, 'utf-8');
                isModified = false;
                status.textContent = `Saved: ${currentFile}`;
            }
        }

        editor.addEventListener('input', () => { isModified = true; });

        window.ipcRenderer.on('menu-open', () => openFile());
        window.ipcRenderer.on('menu-save', () => saveFile());
    </script>
</body>
</html>
快速开始一个新项目可以使用 nww-forge 脚手架工具。运行 npx @devscholar/nww-forge init my-app 会创建一个基础项目结构,包含主进程入口、预加载脚本、渲染进程代码和 HTML 文件。如果需要 TypeScript 支持,可以添加 --template=vanilla-ts 参数。开发时运行 npm start 启动应用,打包时运行 npm run make 生成可分发的压缩包。
项目结构通常包含以下文件:main.js 是主进程入口,处理窗口创建和 IPC 通信;preload.js 是预加载脚本,通过 contextBridge 向渲染进程暴露安全的 API;renderer.js 是渲染进程代码,构建用户界面逻辑;index.html 是应用界面;package.json 定义依赖和启动脚本。
Node with Window 的优势在于多运行时支持和轻量级。如果你已经在使用 Deno 或 Bun 进行后端开发,现在可以用同一个运行时开发桌面应用,不需要额外安装 Node.js。应用体积小是因为依赖系统已有的运行时,而不是捆绑自己的浏览器和 JavaScript 引擎。API 与 Electron 兼容意味着迁移成本低,现有的 Electron 开发经验可以直接复用。
目前的限制是不支持 macOS,因为作者没有 MacBook 进行开发和测试。另外,一些 Electron 的高级功能如自动更新、崩溃报告等还没有实现。如果你只需要基本的窗口管理和 IPC 通信,Node with Window 已经足够使用。完整示例可以在 node-with-window-examples 仓库中找到。