Writing WinForms Desktop Apps with JavaScript
Published: 3/21/2026 | Author: DevScholar
Writing WinForms Desktop Apps with JavaScript
Windows Forms (WinForms) is a desktop UI framework introduced by Microsoft in the .NET Framework 1.0 era. It wraps the Win32 API, allowing developers to create native Windows applications relatively easily. Traditionally, WinForms development required C# or VB.NET, but with the Node PS1 for .NET library, JavaScript developers can now directly call the full WinForms API.
Node PS1 for .NET works by using PowerShell 5.1 built into Windows as a bridge, allowing the JavaScript runtime to interact with the .NET runtime through IPC (Inter-Process Communication). The advantage of this approach is that you don’t need to bundle a complete .NET runtime in your application installer, since Windows 10/11 already comes with .NET Framework 4.5+ and PowerShell 5.1 pre-installed, keeping the application size small. And since it uses IPC instead of C++ Addons, this library supports not only Node.js but also Deno and Bun.
To get started, first install the dependency. Run npm install @devscholar/node-ps1-dotnet in your project directory or use your preferred package manager. Then create a TypeScript file, import the dotnet object, and load the necessary assemblies. WinForms-related types are distributed across two assemblies: System.Windows.Forms contains forms and controls, while System.Drawing contains auxiliary types like fonts, colors, and coordinate points.
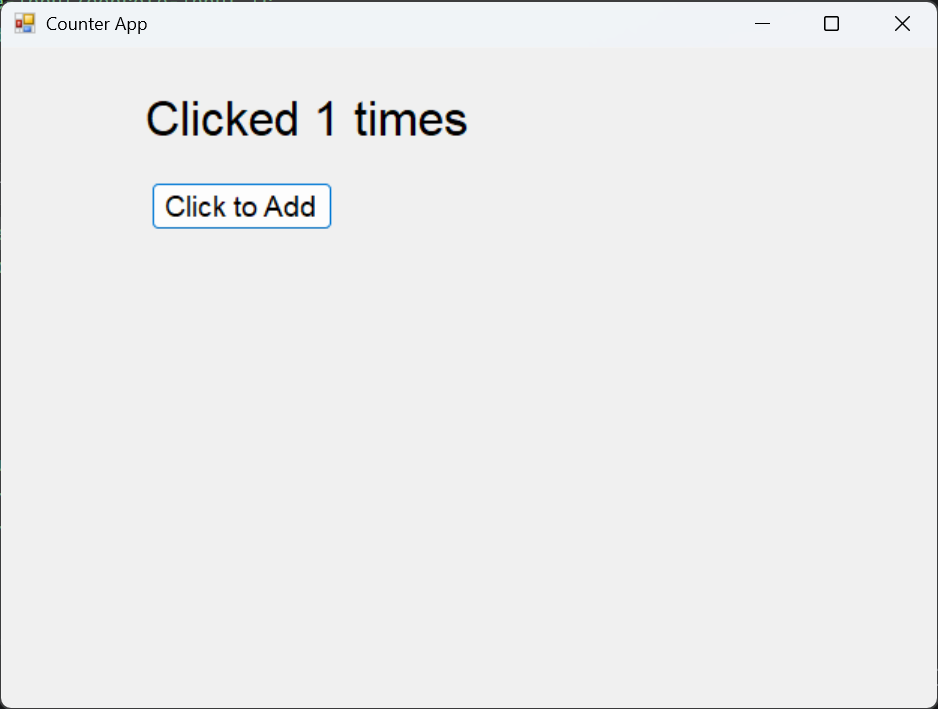
Here’s a simple counter example. The code first calls dotnet.load to load two assemblies, then accesses types under the Forms namespace through dotnet.System.Windows.Forms. Application.EnableVisualStyles() and Application.SetCompatibleTextRenderingDefault(false) are standard initialization code for WinForms applications, the former enables visual styles from XP onwards, and the latter ensures text rendering consistency.
Creating a form is straightforward, new Forms.Form() gives you a blank window, then you set properties like Text, Width, Height. Setting StartPosition to 1 means center display, which is the CenterScreen value of the FormStartPosition enum. The way to add controls is to create control instances, set properties, then call form.Controls.Add() to add them to the form’s control collection.
import dotnet from '@devscholar/node-ps1-dotnet';

dotnet.load('System.Windows.Forms');
dotnet.load('System.Drawing');

const System = dotnet.System as any;
const Forms = System.Windows.Forms;
const Drawing = System.Drawing;

let clickCount = 0;

Forms.Application.EnableVisualStyles();
Forms.Application.SetCompatibleTextRenderingDefault(false);

const form = new Forms.Form();
form.Text = "Counter App";
form.Width = 640;
form.Height = 480;
form.StartPosition = 1;

const label = new Forms.Label();
label.Text = "Clicks: 0";
label.Font = new Drawing.Font("Arial", 24);
label.AutoSize = true;
label.Location = new Drawing.Point(90, 30);
form.Controls.Add(label);

const button = new Forms.Button();
button.Text = "Click to Add";
button.Font = new Drawing.Font("Arial", 14);
button.AutoSize = true;
button.Location = new Drawing.Point(100, 90);

button.add_Click(() => {
    clickCount++;
    label.Text = `Clicked ${clickCount} times`;
});

form.Controls.Add(button);

Forms.Application.Run(form);
Event handling uses the add_EventName method, for example, the button’s click event is add_Click, passing in a callback function. Inside the callback, you can update the state of other controls, such as modifying the Label’s Text property to display the click count. Finally, call Forms.Application.Run(form) to start the message loop, and the window will display and respond to user operations.
Let’s look at a slightly more complex example, implementing a draggable box. This example involves combining mouse events, MouseDown records the drag start position, MouseUp ends the drag, and MouseMove updates the control position if in dragging state. Note that this uses the Panel control, which is a container control, here we use it as a movable colored block by setting the BackColor property to change the background color.
import dotnet from '@devscholar/node-ps1-dotnet';

dotnet.load('System.Windows.Forms');
dotnet.load('System.Drawing');

const System = dotnet.System as any;
const Forms = System.Windows.Forms;
const Drawing = System.Drawing;

Forms.Application.EnableVisualStyles();
Forms.Application.SetCompatibleTextRenderingDefault(false);

const form = new Forms.Form();
form.Text = "Draggable Box Example";
form.Width = 800;
form.Height = 600;
form.StartPosition = 1;

const box = new Forms.Panel();
box.BackColor = Drawing.Color.Red;
box.Width = 100;
box.Height = 100;

let currentX = 350;
let currentY = 250;
box.Location = new Drawing.Point(currentX, currentY);

form.Controls.Add(box);

let isDragging = false;
let startDragOffsetX = 0;
let startDragOffsetY = 0;

box.add_MouseDown((sender: any, e: any) => {
    isDragging = true;
    startDragOffsetX = e.X;
    startDragOffsetY = e.Y;
    box.BackColor = Drawing.Color.DarkRed;
});

box.add_MouseUp((sender: any, e: any) => {
    isDragging = false;
    box.BackColor = Drawing.Color.Red;
});

box.add_MouseMove((sender: any, e: any) => {
    if (isDragging) {
        currentX = currentX + e.X - startDragOffsetX;
        currentY = currentY + e.Y - startDragOffsetY;
        box.Left = currentX;
        box.Top = currentY;
    }
});

Forms.Application.Run(form);
The second parameter e of the mouse event callback is of MouseEventArgs type, containing the mouse coordinates X and Y relative to the control. When dragging, you need to calculate the offset because MouseMove gives the mouse position relative to the control, not the absolute position in the form. Through e.X - startDragOffsetX, you can calculate the horizontal offset of this movement, add it to currentX, then assign it to box.Left to achieve smooth dragging. The color change is to provide visual feedback, turning dark when pressed and returning to normal when released.
To run these examples, execute node start.js your-file.ts, where start.js is the startup script provided by node-ps1-dotnet, which handles TypeScript compilation and runtime initialization. If using Deno or Bun, the startup method is similar, refer to the project documentation for details.
The advantage of this approach is small application size, fast startup, and low memory usage, because you don’t need to bundle Chromium and a complete .NET runtime in the installer. The disadvantage is that it currently only supports the Windows platform, and WinForms itself is a relatively old UI framework that doesn’t support modern features like animations and transparency effects. If you need a more modern interface, consider using WPF (Windows Presentation Foundation), which can also be called through Node PS1 for .NET, or use node-with-window, a higher-level wrapper that provides Electron-like API, using WPF and WebView2 underneath.
Overall, Node PS1 for .NET provides a low-cost path for JavaScript developers to enter Windows native development. If you’re familiar with web development but occasionally need to write some Windows tools, or want to call .NET’s rich class library with JavaScript, this library is worth trying. For more examples, refer to the node-ps1-dotnet-examples repository.