Node with Window: An Electron Alternative for Deno and Bun
Published: 3/21/2026 | Author: DevScholar
Node with Window: An Electron Alternative for Deno and Bun
Electron is currently the most popular cross-platform desktop application framework, but it has a notable limitation: it’s tied exclusively to Node.js. If you want to develop desktop applications on Deno or Bun, Electron simply won’t work. Node with Window is a new framework that provides an Electron-compatible API while supporting Node.js, Deno, and Bun - all three JavaScript runtimes.
Node with Window’s design philosophy is to leverage existing system runtimes rather than bundling its own. On Windows, it uses WPF and WebView2, relying on the system’s pre-installed .NET Framework and Edge WebView2 runtime. On Linux, it uses GTK4 and WebKitGTK, relying on the system’s pre-installed GJS and WebKit runtime. The benefit is that application installers can be kept within a few MB, far smaller than Electron’s typical hundred-plus MB size.
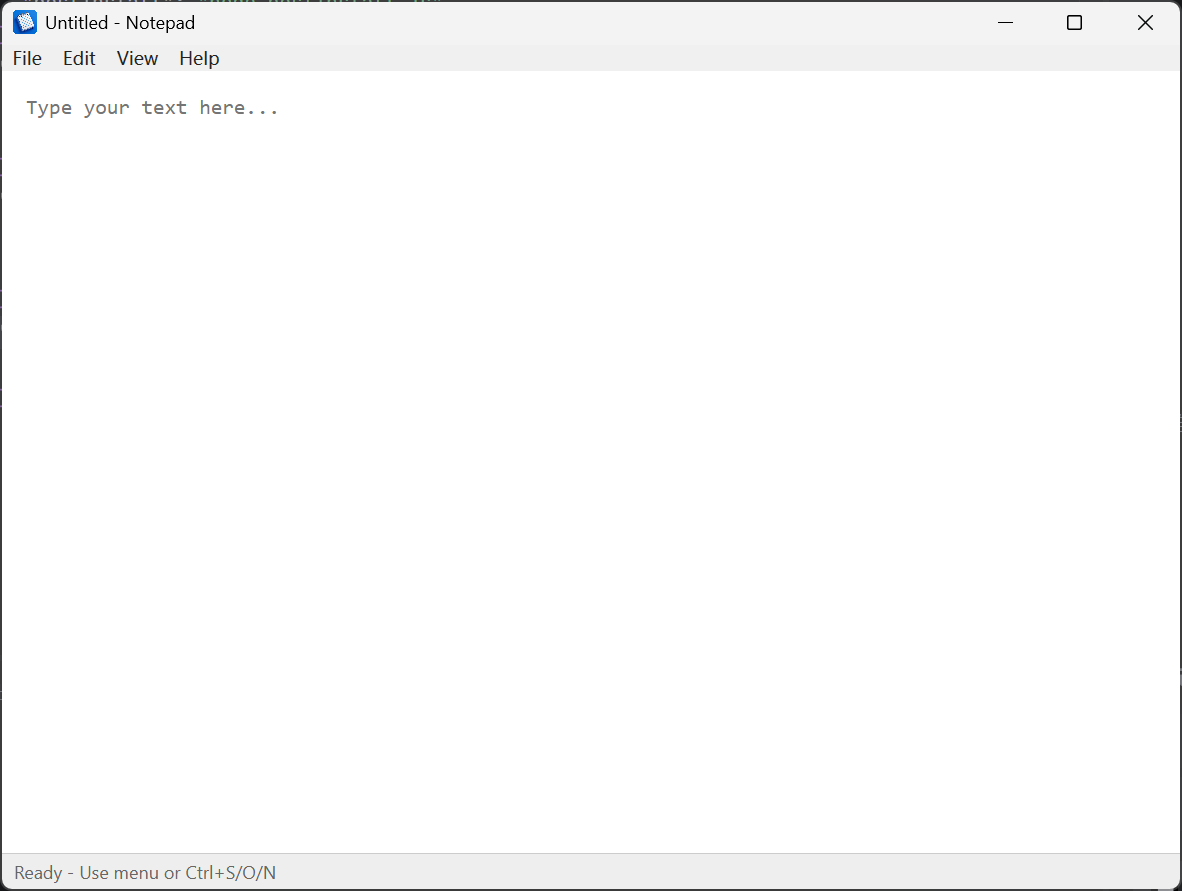
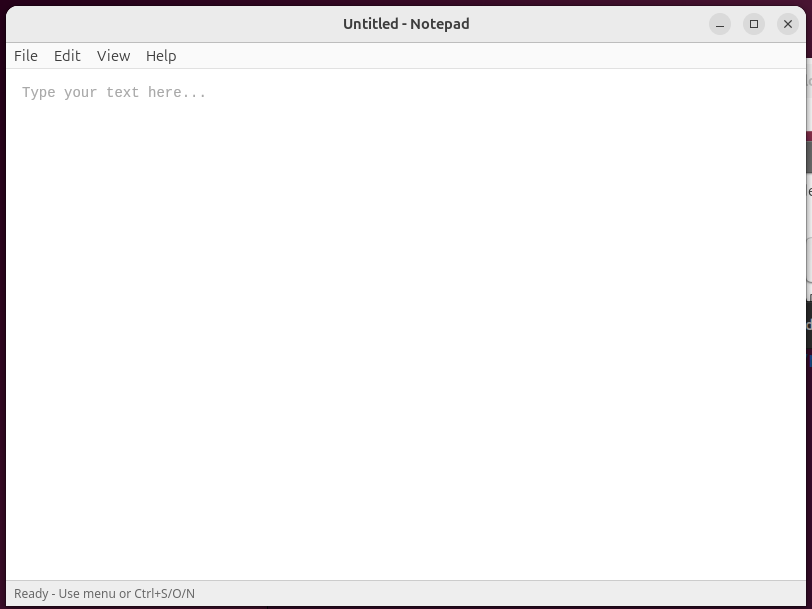
In terms of API design, Node with Window strives to maintain consistency with Electron. The main process uses familiar modules like app, BrowserWindow, and ipcMain, while the renderer process uses ipcRenderer to communicate with the main process. If you have Electron development experience, the migration cost is low. Here’s a simple notepad application example demonstrating basic window creation, menu setup, and IPC communication.
import { app, BrowserWindow, ipcMain } from '@devscholar/node-with-window';
import * as path from 'node:path';
import * as url from 'node:url';

const __dirname = url.fileURLToPath(new URL('.', import.meta.url));

async function main() {
    await app.whenReady();

    const win = new BrowserWindow({
        title: 'Notepad',
        width: 800,
        height: 600,
        minWidth: 400,
        minHeight: 300,
        resizable: true,
        webPreferences: {
            nodeIntegration: true,
            contextIsolation: false
        }
    });

    ipcMain.handle('show-open-dialog', (_event, options) => {
        const result = win.showOpenDialog(options);
        return result && result.length > 0 ? result[0] : undefined;
    });

    ipcMain.handle('show-save-dialog', (_event, options) => {
        return win.showSaveDialog(options);
    });

    win.loadFile(path.join(__dirname, 'notepad.html'));

    win.setMenu([
        {
            label: 'File',
            submenu: [
                { label: 'New',       accelerator: 'CmdOrCtrl+N', click: () => win.webContents.send('menu-new') },
                { label: 'Open...',   accelerator: 'CmdOrCtrl+O', click: () => win.webContents.send('menu-open') },
                { label: 'Save',      accelerator: 'CmdOrCtrl+S', click: () => win.webContents.send('menu-save') },
                { label: 'Save As...', accelerator: 'CmdOrCtrl+Shift+S', click: () => win.webContents.send('menu-save-as') },
                { type: 'separator' },
                { label: 'Exit',      accelerator: 'Alt+F4', click: () => win.close() }
            ]
        },
        {
            label: 'Edit',
            submenu: [
                { label: 'Undo',       accelerator: 'CmdOrCtrl+Z', click: () => win.webContents.send('menu-edit', 'undo') },
                { label: 'Redo',       accelerator: 'CmdOrCtrl+Y', click: () => win.webContents.send('menu-edit', 'redo') },
                { type: 'separator' },
                { label: 'Cut',        accelerator: 'CmdOrCtrl+X', click: () => win.webContents.send('menu-edit', 'cut') },
                { label: 'Copy',       accelerator: 'CmdOrCtrl+C', click: () => win.webContents.send('menu-edit', 'copy') },
                { label: 'Paste',      accelerator: 'CmdOrCtrl+V', click: () => win.webContents.send('menu-edit', 'paste') },
                { label: 'Select All', accelerator: 'CmdOrCtrl+A', click: () => win.webContents.send('menu-edit', 'selectAll') }
            ]
        }
    ]);
}

main().catch(console.error);
Creating a window uses the BrowserWindow class with configuration options largely consistent with Electron. webPreferences can set nodeIntegration and contextIsolation to control renderer process permissions. showOpenDialog and showSaveDialog methods display native system file dialogs, returning the file path selected by the user. setMenu sets the window menu with keyboard shortcut support, and menu item clicks send messages to the renderer process via webContents.send.
The renderer process code is just regular HTML and JavaScript. If nodeIntegration is enabled, the renderer process can directly use Node.js’s fs module to read and write files. Here’s the HTML portion of the notepad application, showing how to handle menu events and file operations.
<!DOCTYPE html>
<html>
<head>
    <meta charset="UTF-8">
    <title>Notepad</title>
    <style>
        * { margin: 0; padding: 0; box-sizing: border-box; }
        body { display: flex; flex-direction: column; height: 100vh; }
        #editor {
            flex: 1;
            padding: 16px;
            font-family: Consolas, Monaco, monospace;
            font-size: 14px;
            border: none;
            resize: none;
            outline: none;
        }
        #status {
            background: #eee;
            padding: 4px 8px;
            font-size: 12px;
            border-top: 1px solid #ccc;
        }
    </style>
</head>
<body>
    <textarea id="editor" placeholder="Type your text here..."></textarea>
    <div id="status">Ready</div>

    <script type="module">
        const editor = document.getElementById('editor');
        const status = document.getElementById('status');
        let currentFile = null;
        let isModified = false;

        async function openFile() {
            const filePath = await window.ipcRenderer.invoke('show-open-dialog', {
                title: 'Open File',
                filters: [
                    { name: 'Text Files', extensions: ['txt', 'md', 'json', 'js'] },
                    { name: 'All Files', extensions: ['*'] }
                ],
                properties: ['openFile']
            });
            if (filePath) {
                const content = window.require('fs').readFileSync(filePath, 'utf-8');
                editor.value = content;
                currentFile = filePath;
                isModified = false;
                status.textContent = `Opened: ${filePath}`;
            }
        }

        async function saveFile() {
            if (!currentFile) {
                currentFile = await window.ipcRenderer.invoke('show-save-dialog', {
                    title: 'Save File As',
                    filters: [{ name: 'Text Files', extensions: ['txt'] }]
                });
            }
            if (currentFile) {
                window.require('fs').writeFileSync(currentFile, editor.value, 'utf-8');
                isModified = false;
                status.textContent = `Saved: ${currentFile}`;
            }
        }

        editor.addEventListener('input', () => { isModified = true; });

        window.ipcRenderer.on('menu-open', () => openFile());
        window.ipcRenderer.on('menu-save', () => saveFile());
    </script>
</body>
</html>
To quickly start a new project, you can use the nww-forge scaffolding tool. Running npx @devscholar/nww-forge init my-app creates a basic project structure including main process entry, preload script, renderer code, and HTML file. For TypeScript support, add the --template=vanilla-ts parameter. During development, run npm start to launch the application, and run npm run make to generate distributable archives for packaging.
The project structure typically includes these files: main.js is the main process entry handling window creation and IPC communication; preload.js is the preload script exposing safe APIs to the renderer via contextBridge; renderer.js is the renderer process code building user interface logic; index.html is the application interface; package.json defines dependencies and startup scripts.
Node with Window’s advantages lie in multi-runtime support and lightweight design. If you’re already using Deno or Bun for backend development, you can now develop desktop applications with the same runtime without needing to install Node.js separately. Small application size is achieved by depending on system runtimes rather than bundling your own browser and JavaScript engine. Electron-compatible API means low migration cost, and existing Electron development experience can be directly reused.
Current limitations include no macOS support, as the author doesn’t have a MacBook for development and testing. Additionally, some advanced Electron features like auto-updates and crash reporting haven’t been implemented yet. If you only need basic window management and IPC communication, Node with Window is already sufficient. Complete examples can be found in the node-with-window-examples repository.